How to Backcountry Ski
Imagine being able to rip through fresh, untouched powder all day without waiting in line to get on a chairlift. At Apex Mountain School that is exactly the dream that we love to make come true. We have several courses and guided trips designed to teach you how to backcountry ski.
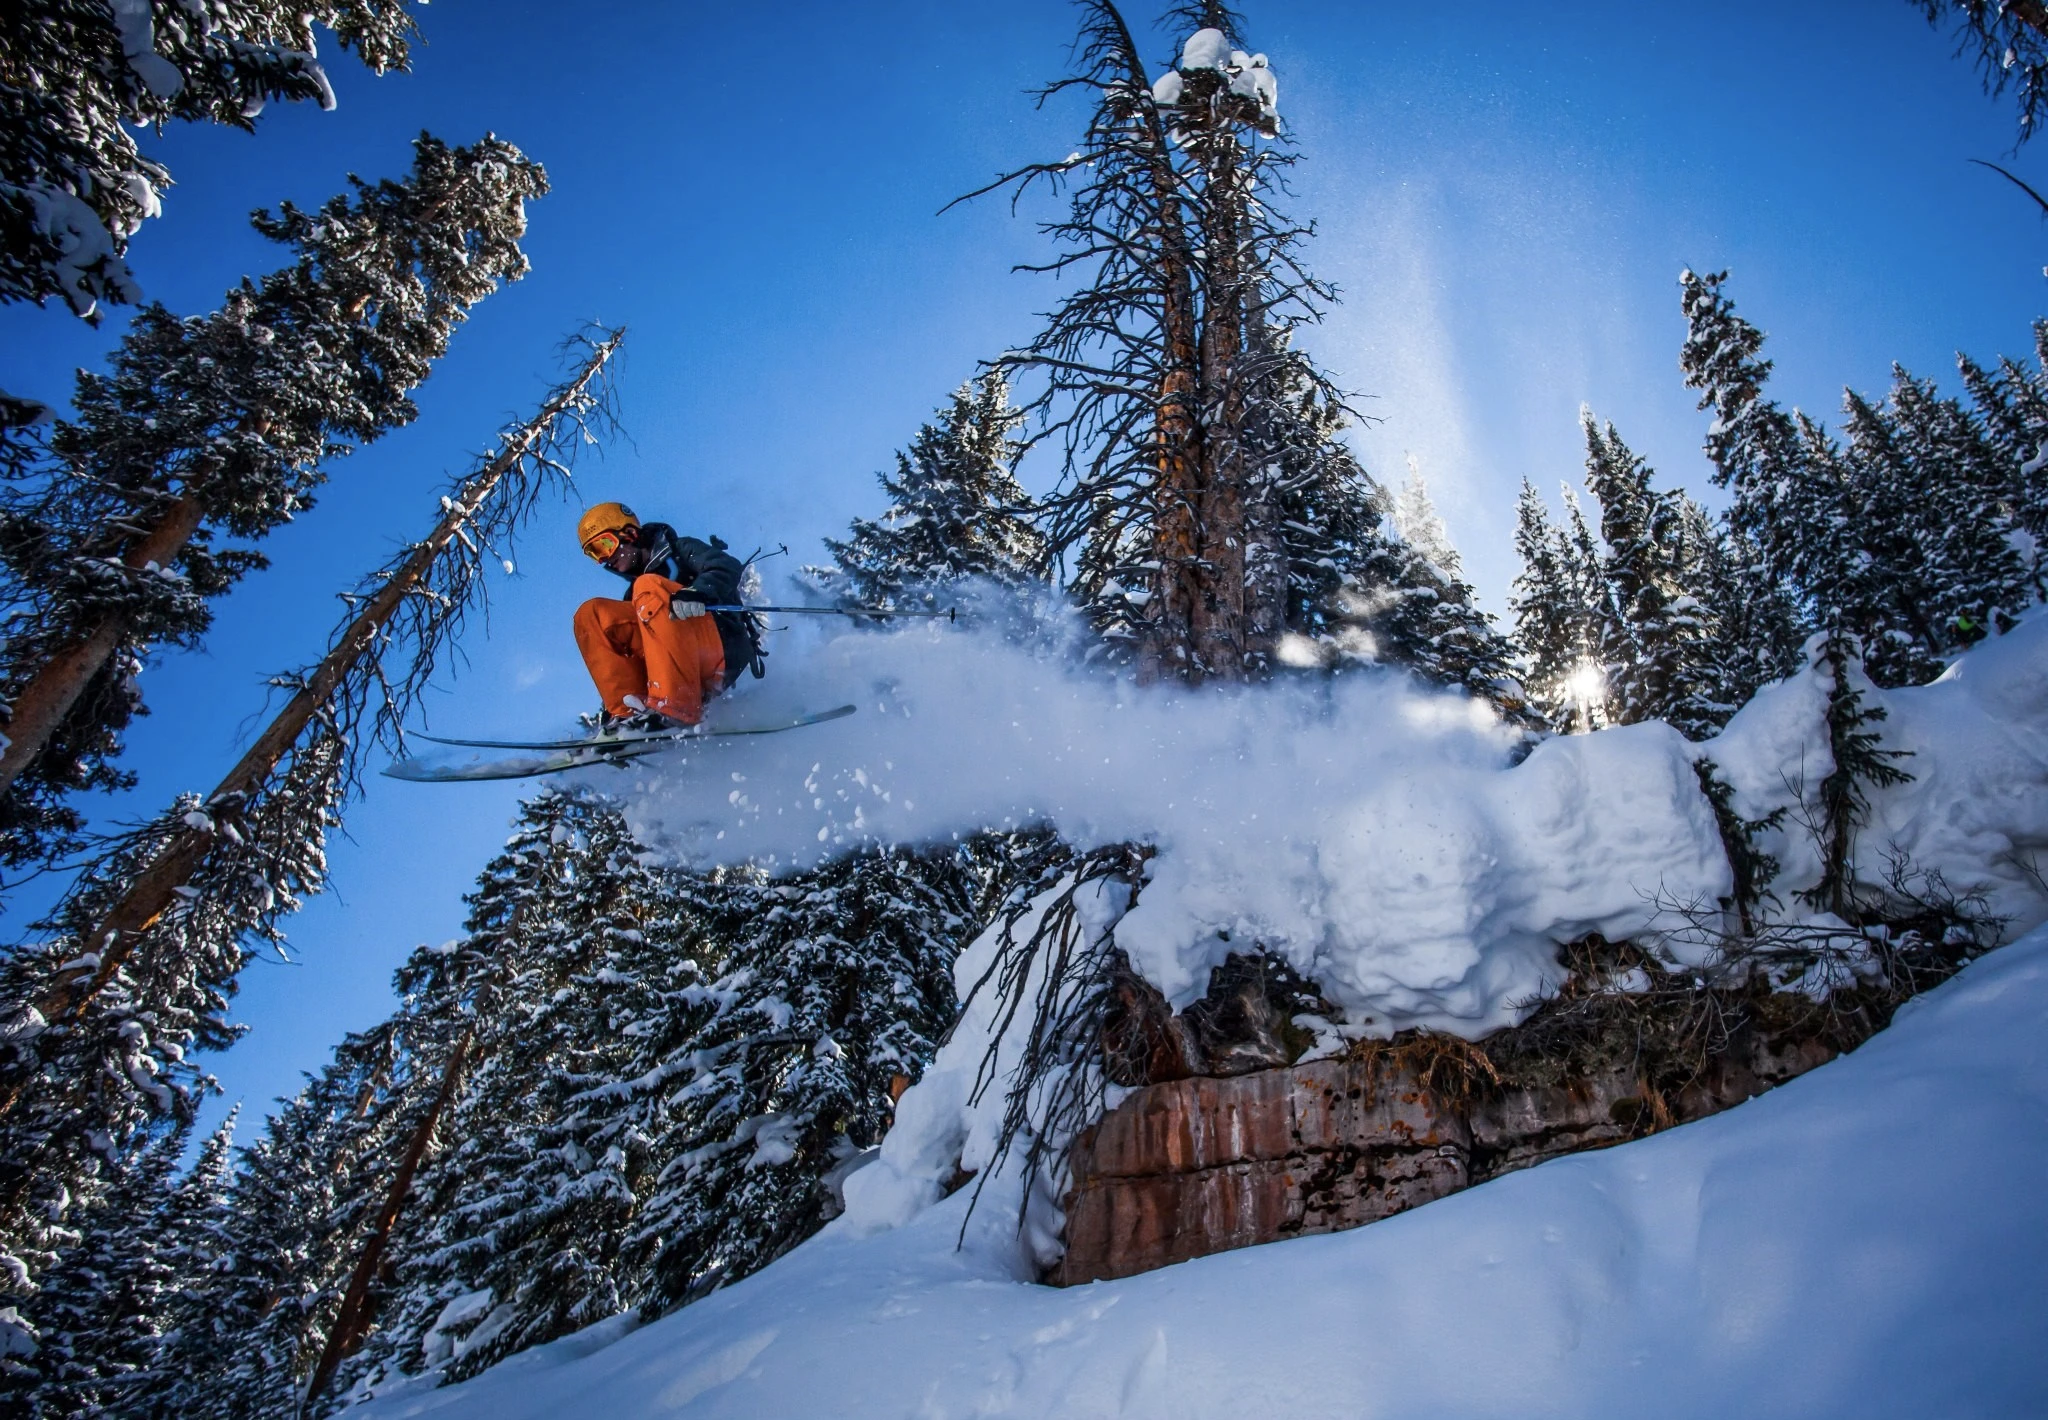
Apex Mountain School Guide Stewart Birmingham skiing through deep powder launches off a cliff in the East Vail Backcountry. Photo: Chris Miller Photography
There are many different ways of experiencing the backcountry. Some love to “Earn their turns” by hiking up a mountain to be able to ski or snowboard down. Others prefer a relaxing hike with snowshoes through the beautiful aspen groves and pine forests we have in Vail. Some looking for more extreme terrain would love to take a helicopter to peaks and ski down. The following steps will lead you on your way to becoming a backcountry guru.
Step 1: Beginner Backcountry Skiing Trip
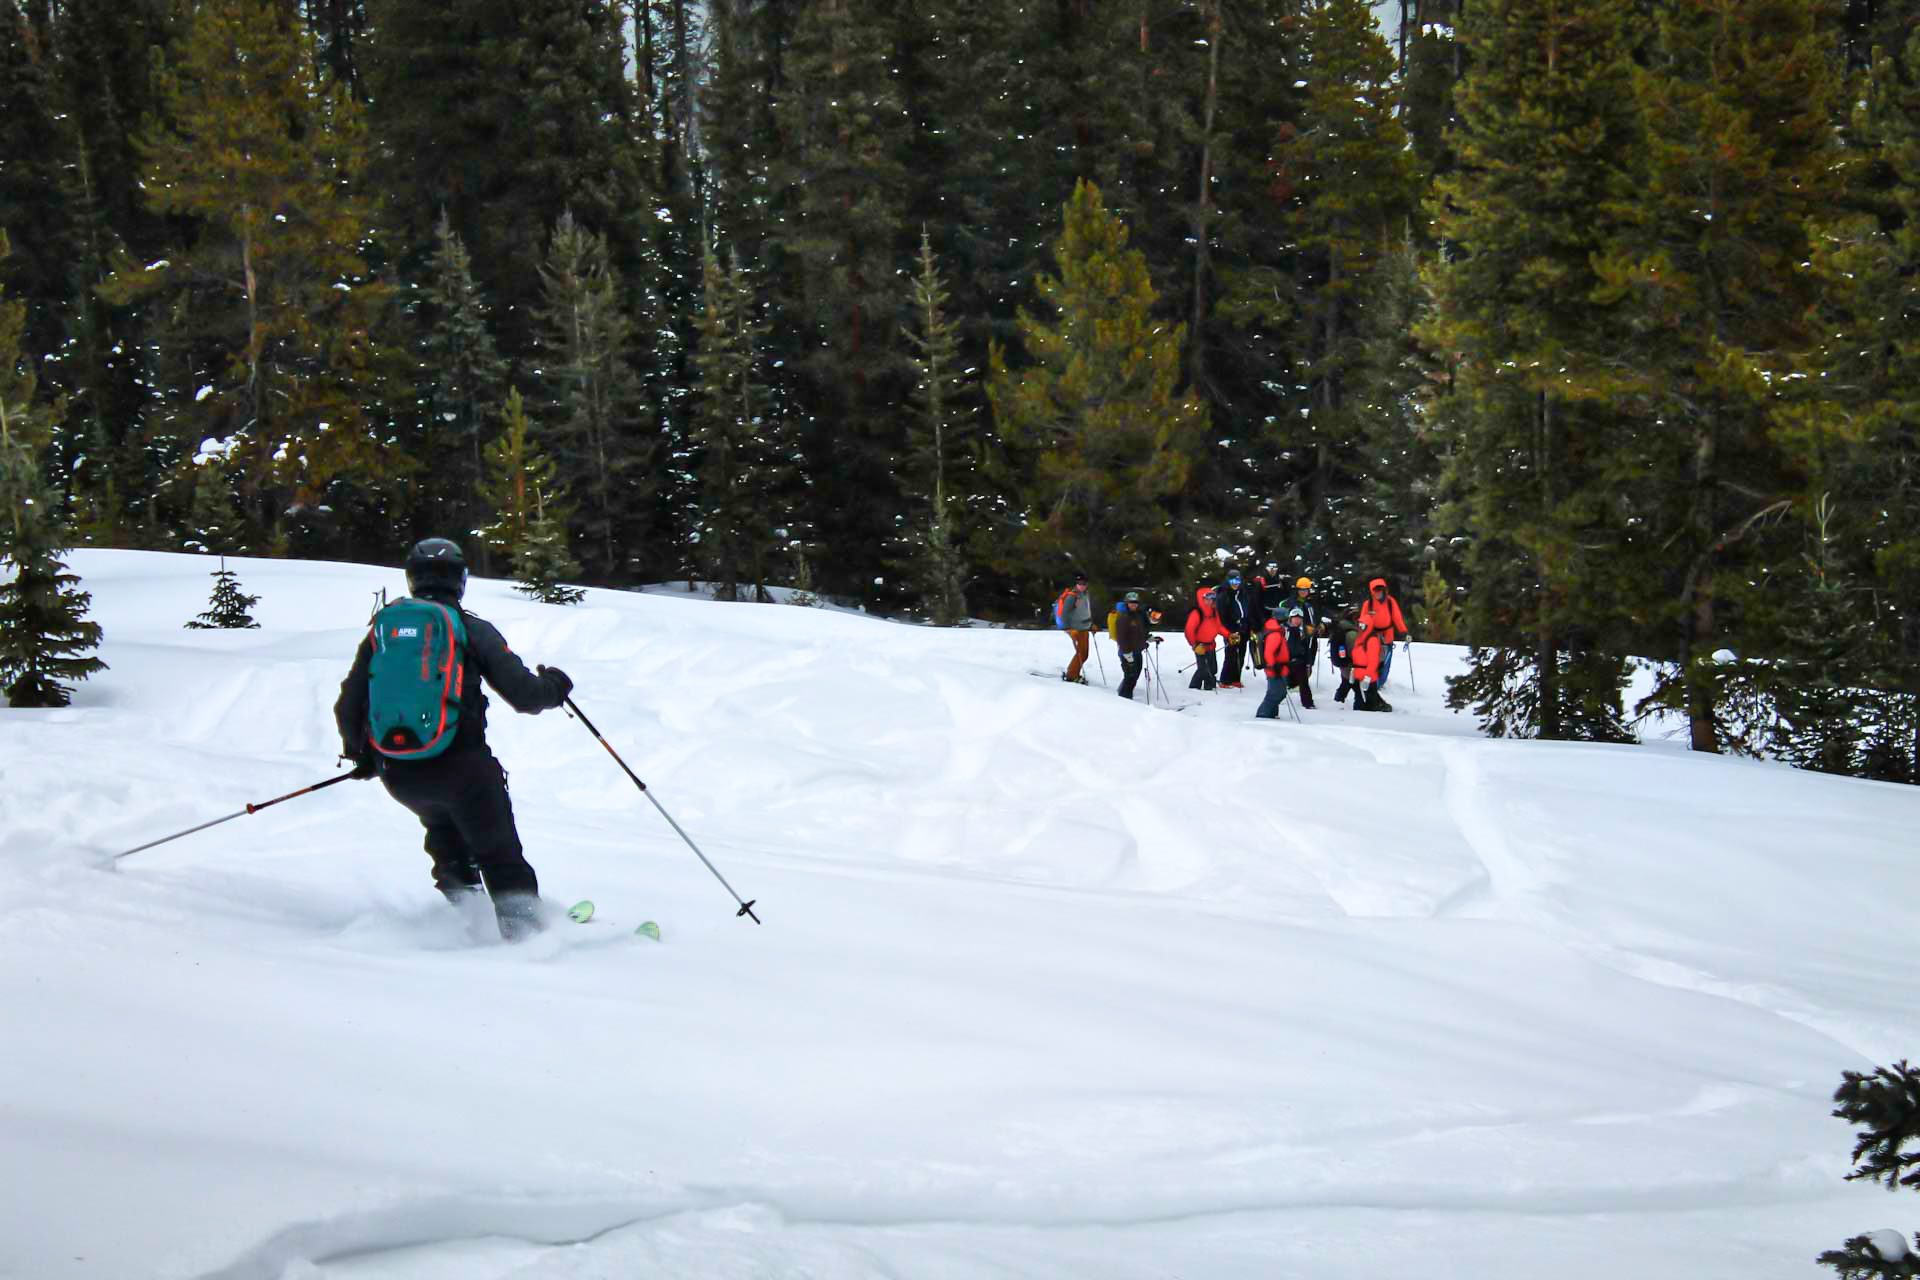
Apex Mountain School guide Scott Smith skis through powder on accessible backcountry terrain to his students during a Beginner Backcountry Skiing Course in Vail, Colorado.
If you’ve never been in the backcountry, a great first step is to take a Beginner Backcountry Skiing Trip. You will join an Apex guide in terrain appropriate for your skill level.
This is a great opportunity to have a better understanding of what it means to travel in backcountry terrain. You will get first hand exposure to the backcountry under the supervision of a guide who has years of experience in avalanche terrain.
Step 2: Get Gear
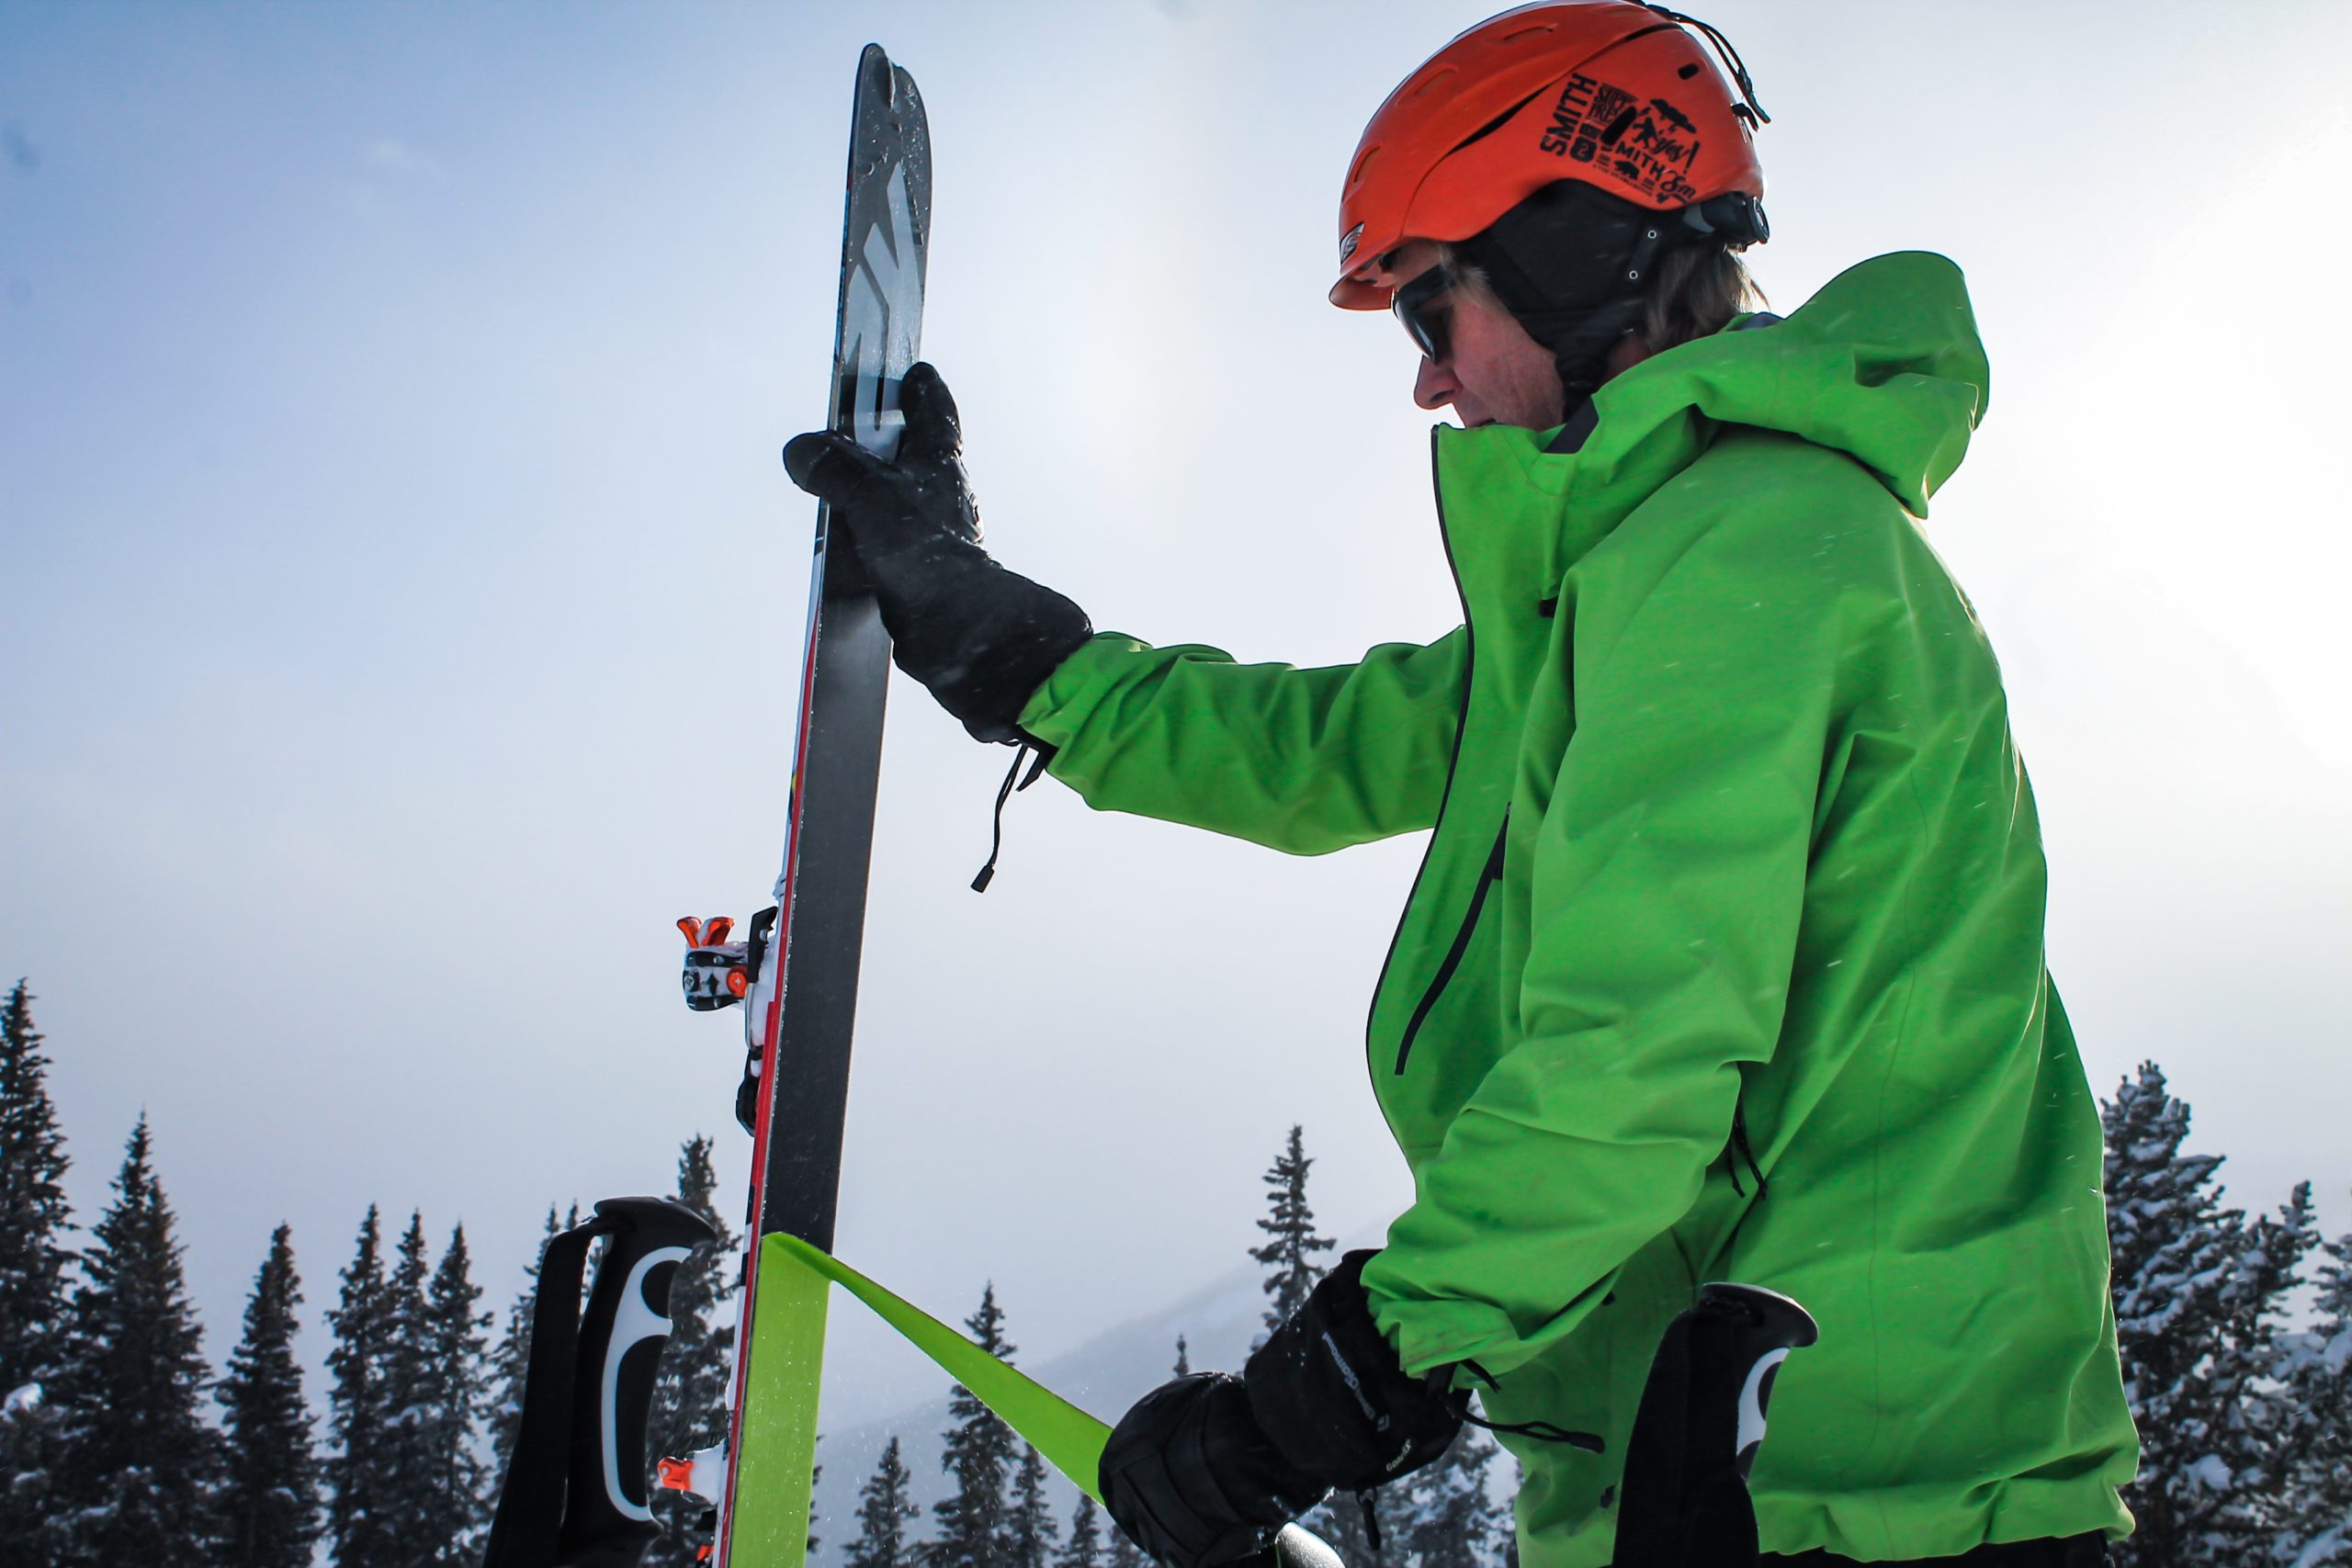
Apex Mountain School guide Scott Smith removes the skins from his skis and prepares for backcountry skiing through deep powder in Vail, Colorado.
Eventually, you will have to get gear. During our Beginner Backcountry Skiing Trips you can get by with your own skis. You could even rent these with nearby business such as Cripple Creek Backcountry in Vail and Alpine Quest Sports in Edwards.
As you get closer to your own adventures in the backcountry sans guide, it is increasingly important that you have your own gear and you are comfortable with it.
Personal Gear
Backpack
– A 20-30 liter backpack designed for backcountry travel is ideal. This size is big enough to fit everything you will need for the day without being so big that it’s uncomfortable to ski. As you begin your backcountry journey you will slowly learn to work with your backpack. You develop a system: where items are stored and what to keep easily accessible.
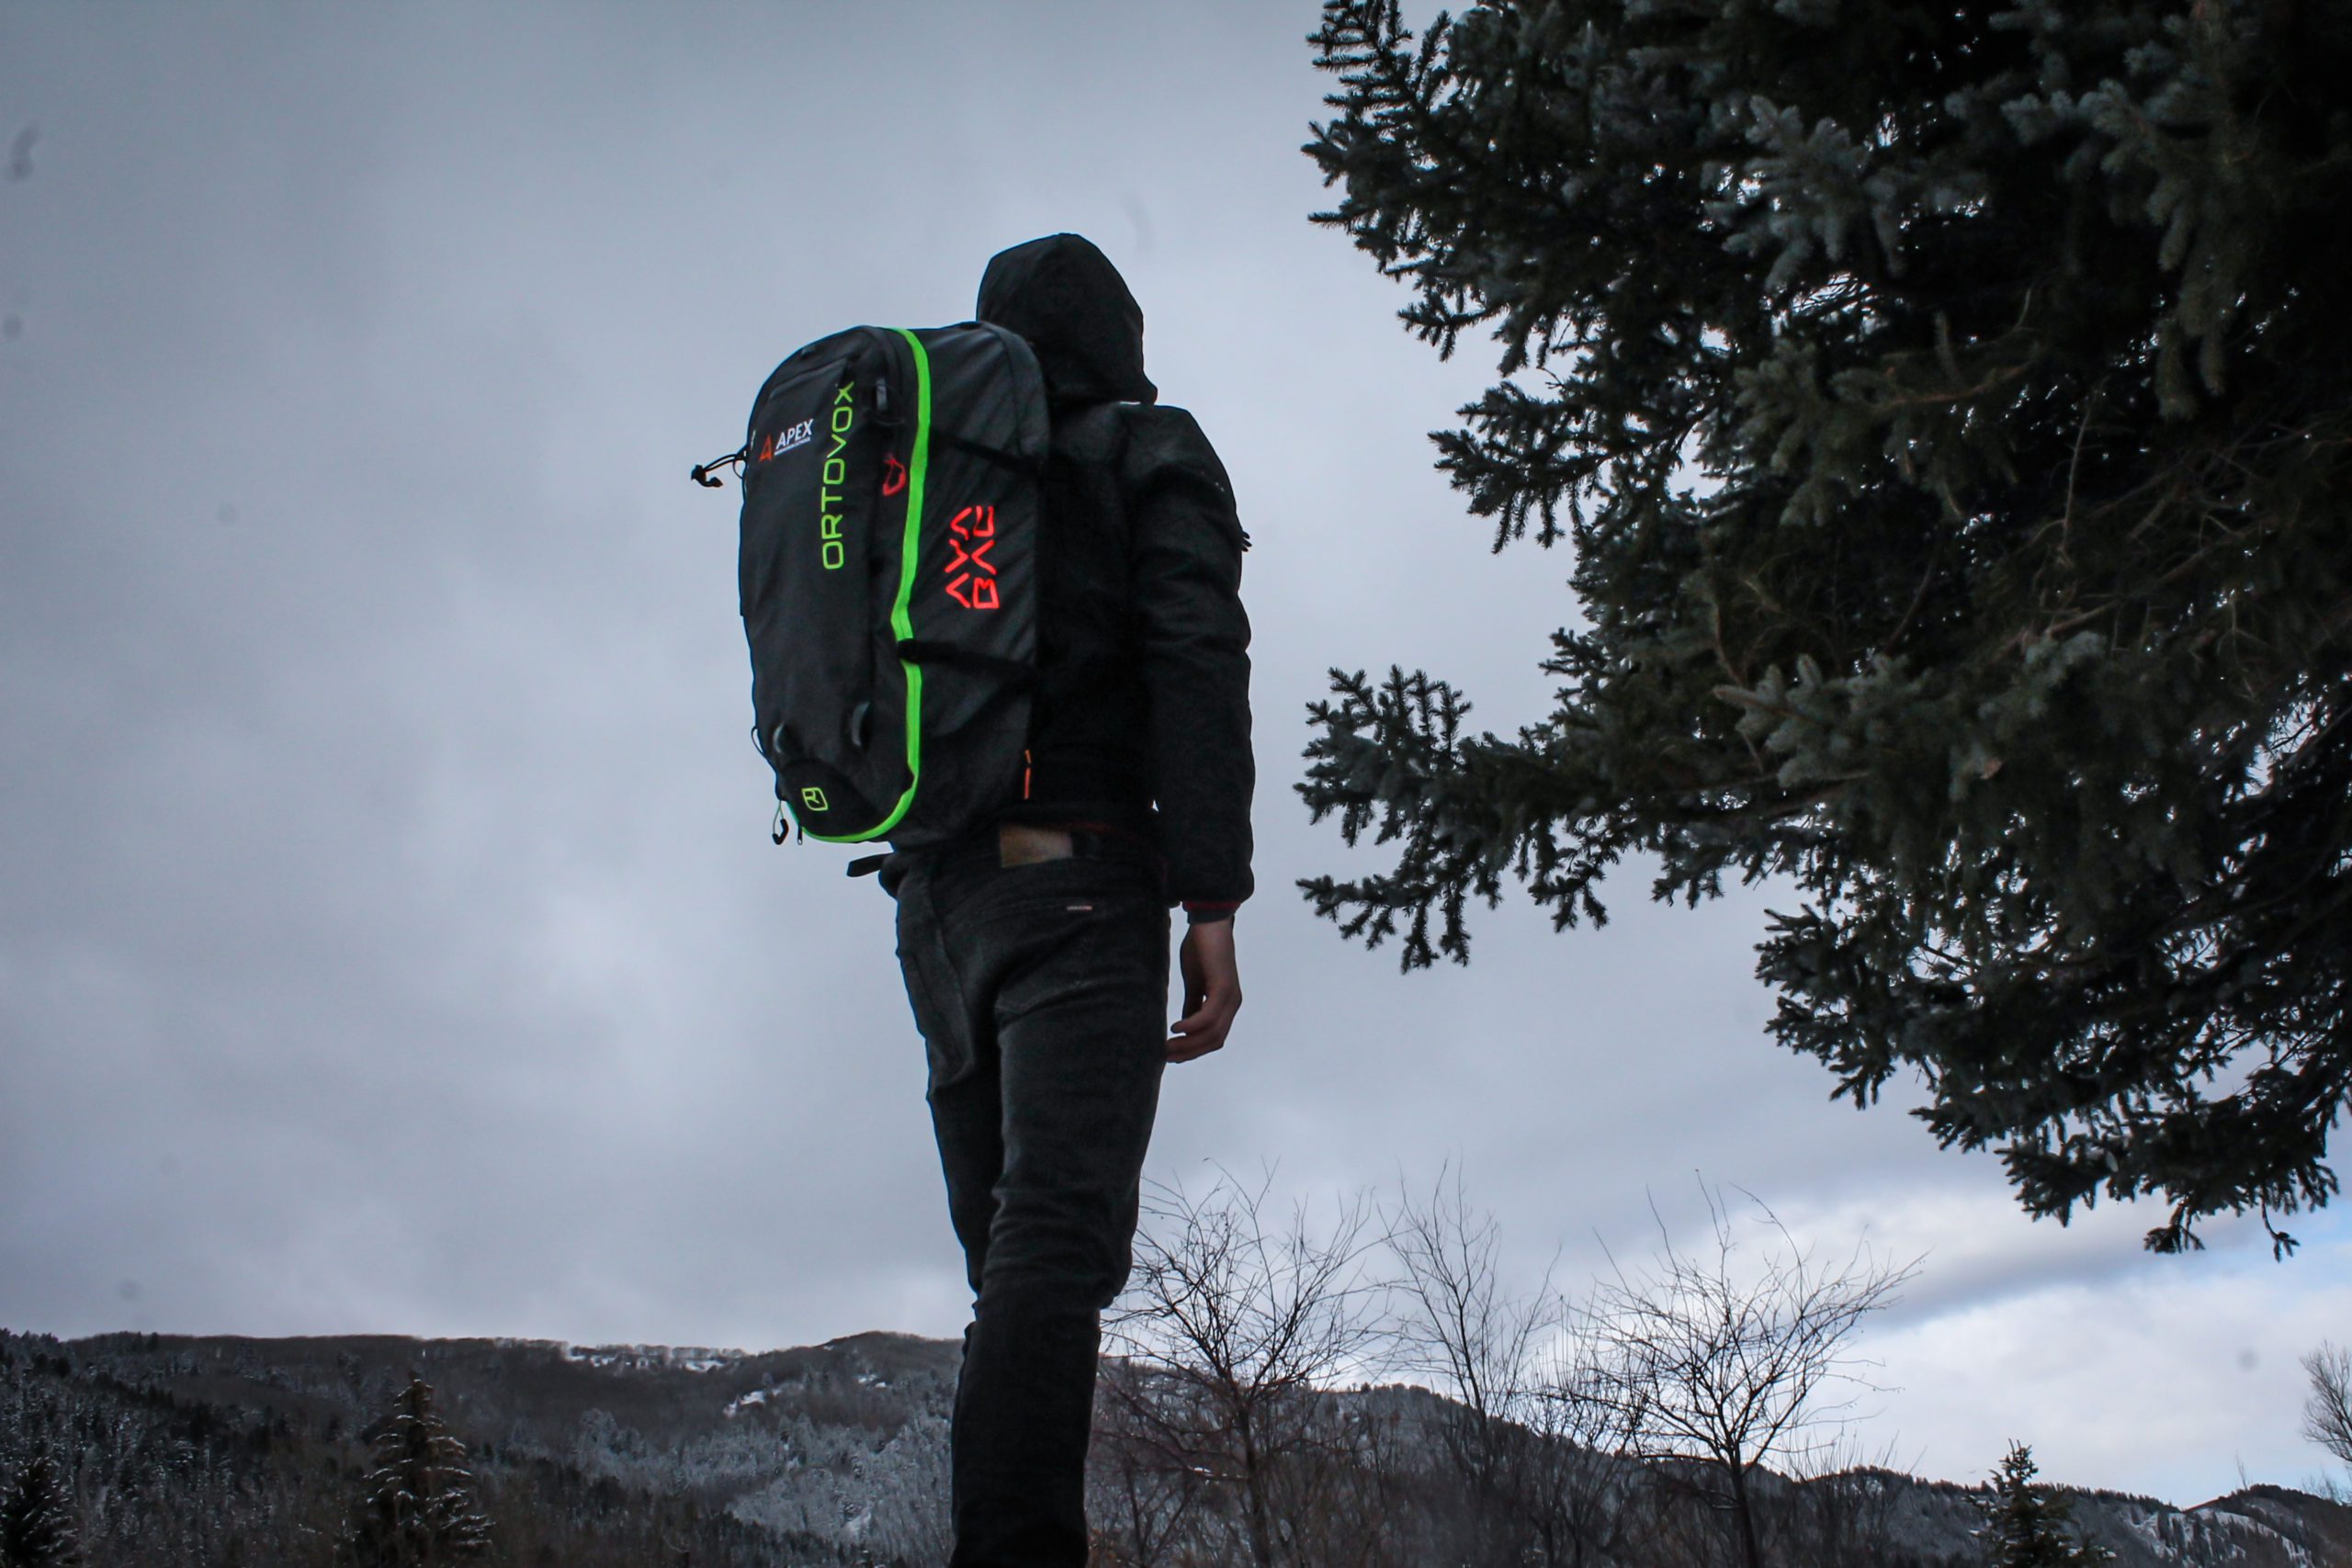
Ortovox makes great backpacks and also sponsors Apex Mountain School. Jeans are not recommended for backcountry travel…
Photo: Devon Dennis
Layers
– Backcountry travel involves non-stop layering and delayering. We are constantly changing from going uphill to downhill; hiking through the protection of pine forests to exposed ridgelines. The simple change from being in the shade to being exposed to the sun can be a night and day difference in Colorado. It is important to be able to quickly and comfortably change layers accordingly.
Down or “Puffy” jackets can be very warm and also compress to save space in the pack when not being used (just don’t get them wet). Synthetic base layers are optimal because they wick away sweat and dry quickly (unlike wool).
Hydration
– Camelbacks and other water bladder systems are not recommended even if they are designed for cold temperatures. Insulated water bottles are much more reliable.
Avalanche Gear
Once you start to explore the backcountry on your own, it is imperative that you have your own Beacon, Probe and Shovel. We rent these from our shop, you’re welcome to use them even on a Beginner Backcountry Ski Trip, but the earlier you purchase your own the better. Just like the rest of the gear you will become comfortable with your own equipment and it’s better to do this as early as possible.
Step 3: Preparing An Avalanche Education Track
Once you have visited the backcountry on a guided Backcountry Ski Trip you may feel great about your knowledge and ability level. Maybe you’re ready to jump into an Avalanche Course and get after it. But if you’re new to all of the gear, terms, tactics and environment; you might want to join us for an Avalanche Prep Course.
Our Avalanche Prep Courses will make sure you are ready to travel in the backcountry and you know how to use your gear. This preparation will guarantee you keep up with the class during an AIARE Level 1 course. You will be able to enjoy the class and get the most out of the information provided as opposed to feeling rushed getting your equipment ready for the next stretch of terrain.
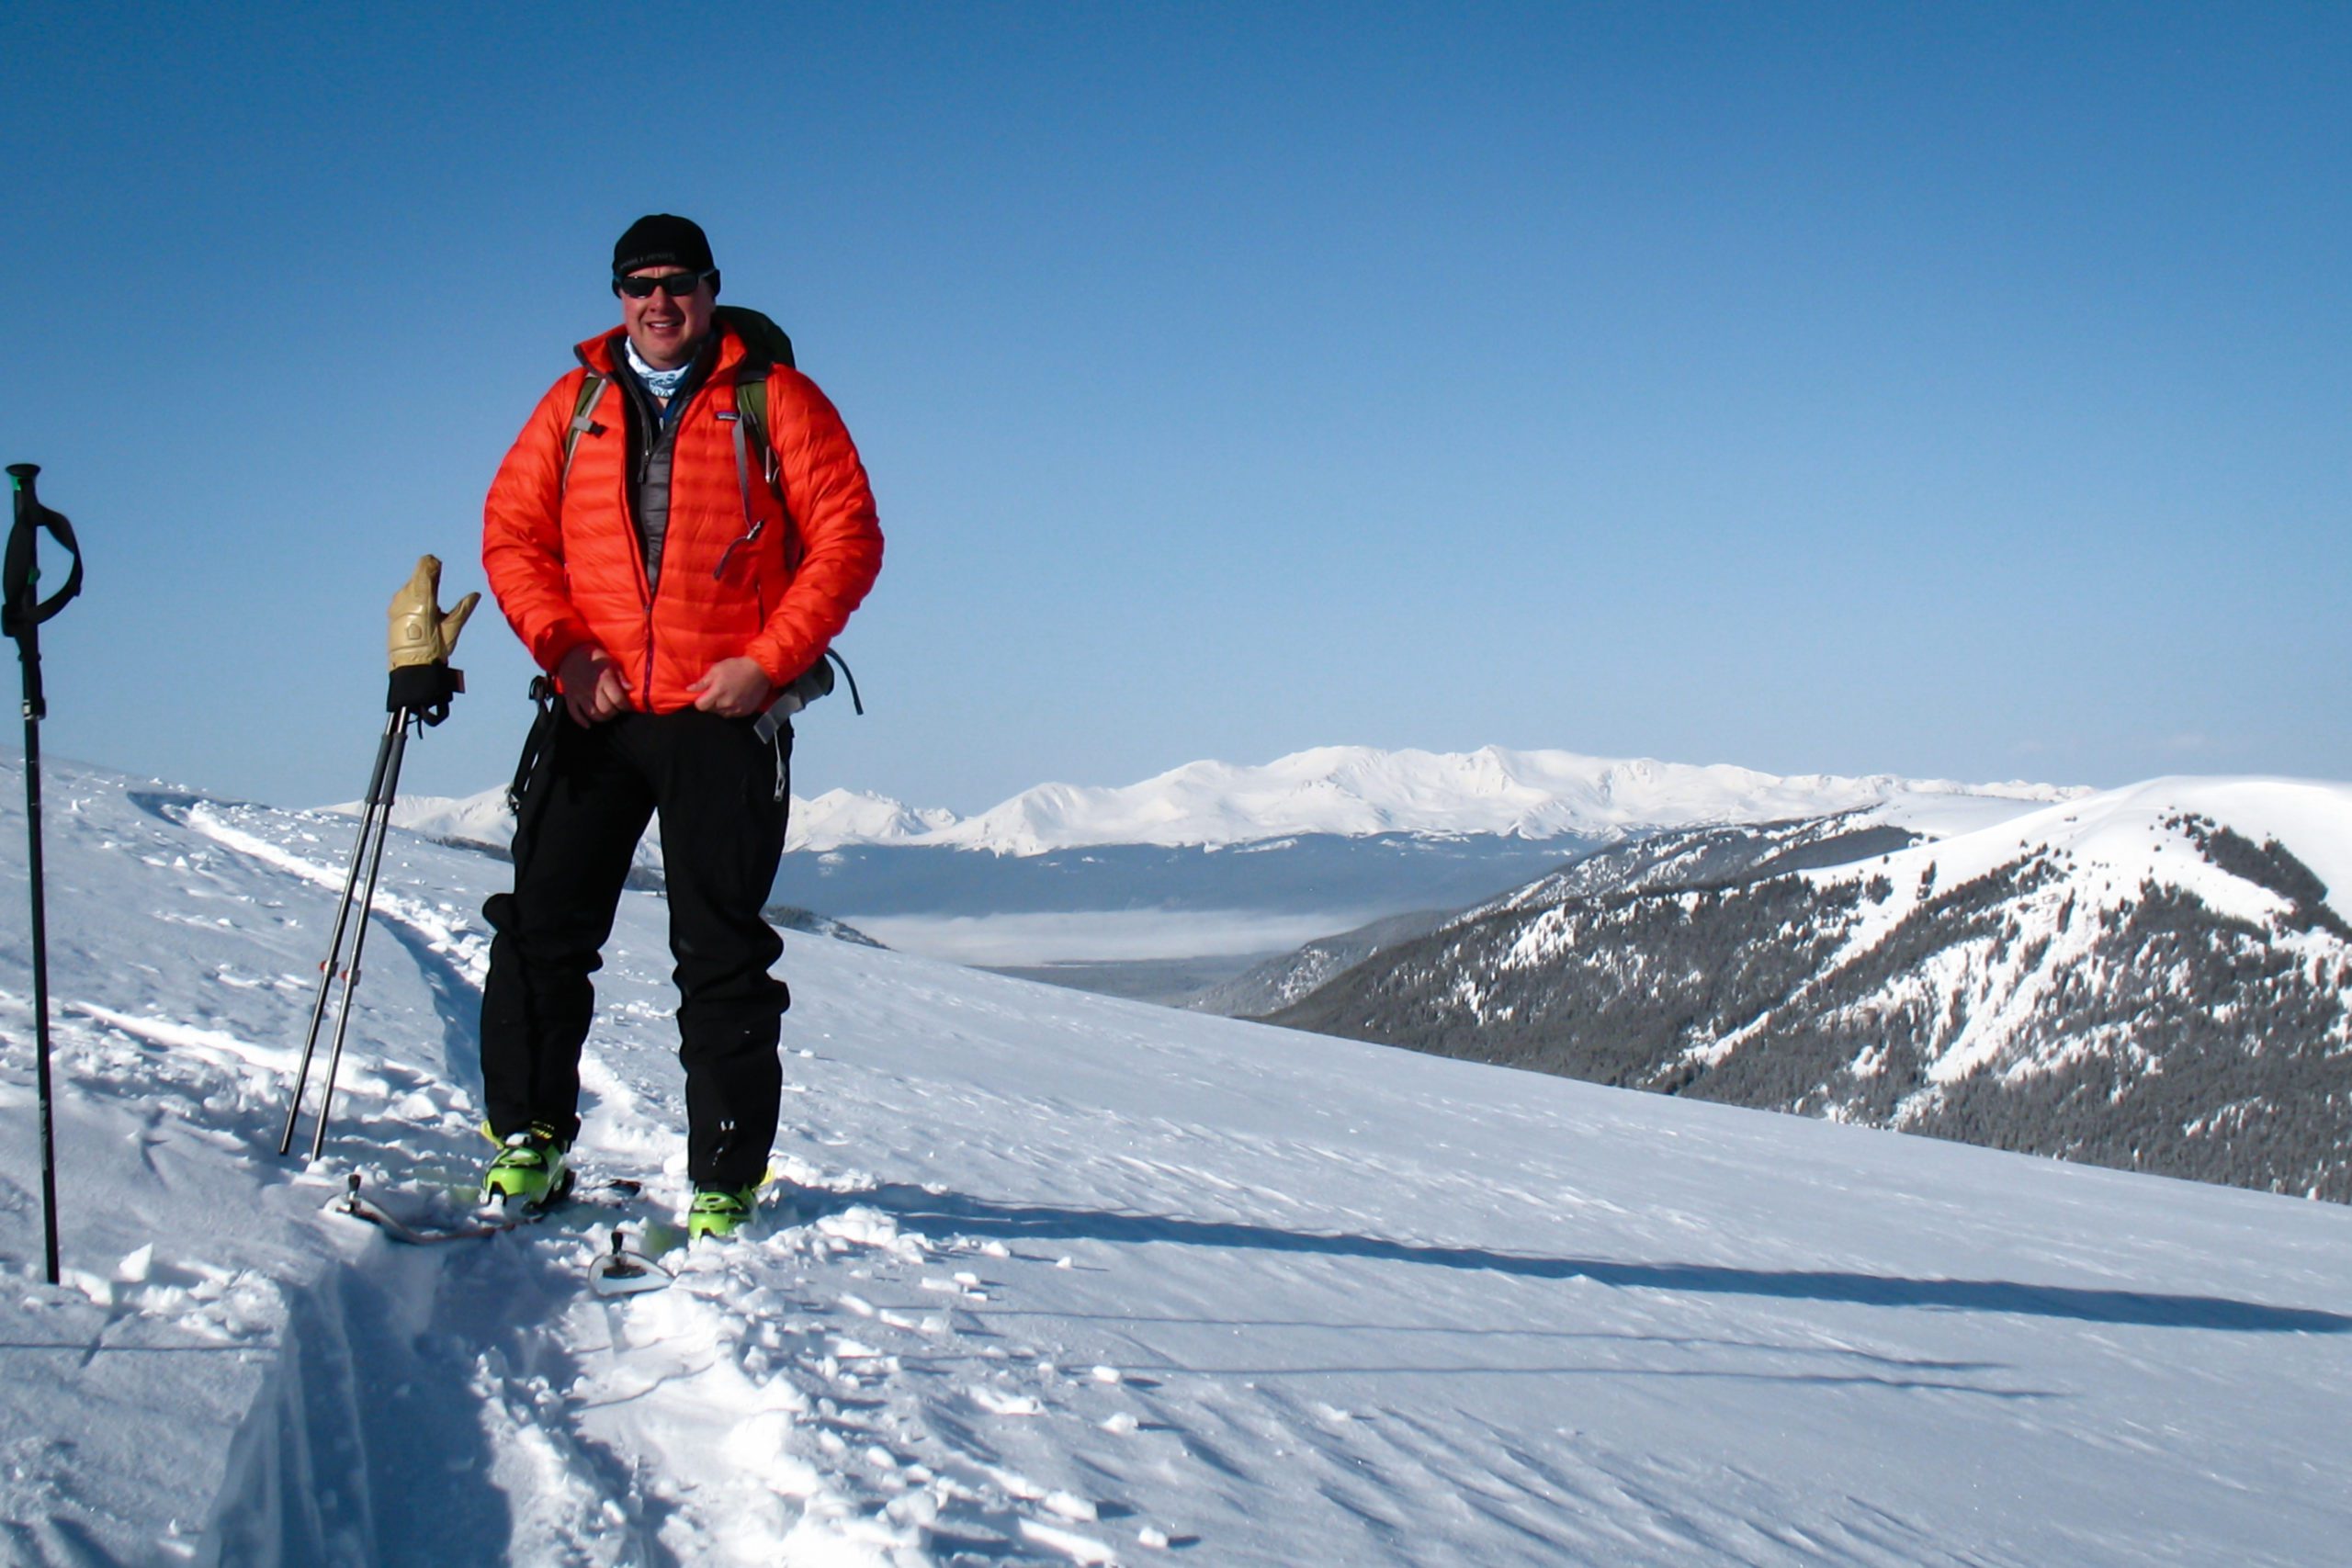
Student rests after skinning uphill during an Avalanche Prep Course in the Vail Backcountry with Apex Mountain School.
Step 4: Avalanche Education Intro Course
The most important step to getting into the backcountry sans guide is understanding avalanche terrain. It is extremely important to understand the nature of avalanches to be able to navigate avalanche terrain safely. With our AIARE courses you will learn the anatomy of an avalanche in a classroom before experiencing snow packs and terrain first hand on your two field days. Our Rescue Courses and Level 1 prepare you for when things don’t go as planned, this is essential if you plan to explore the backcountry without a guide.
Step 5: Assess Your Skiing
At this point you should have a good understanding of what you’re getting yourself into as far as avalanche danger. The other piece of the equation is your skiing ability. Without the risk of avalanches we still run the risk of injury while skiing. It is important that we approach this risk humbly and keep in mind that there is no ski patrol to come rescue us. We offer guided backcountry ski trips that will safely present you to backcountry terrain. Our guides will offer tips and techniques so that you can acclimate to this new environment and develop your skills faster.
Step 6: Plan Your First Backcountry Trip
You’ve got the knowledge, gear and skills. Now all that’s left is to plan your first trip without a professional guide/instructor. If you’ve completed the other steps it is a great time to take one more backcountry ski outing with the sole intention of planning for your own trip, without the guide. Our guides will be able to give you tips on where to explore, where to avoid and when. It isn’t a bad idea to revisit the same area you’ve already explored for your first backcountry outing.

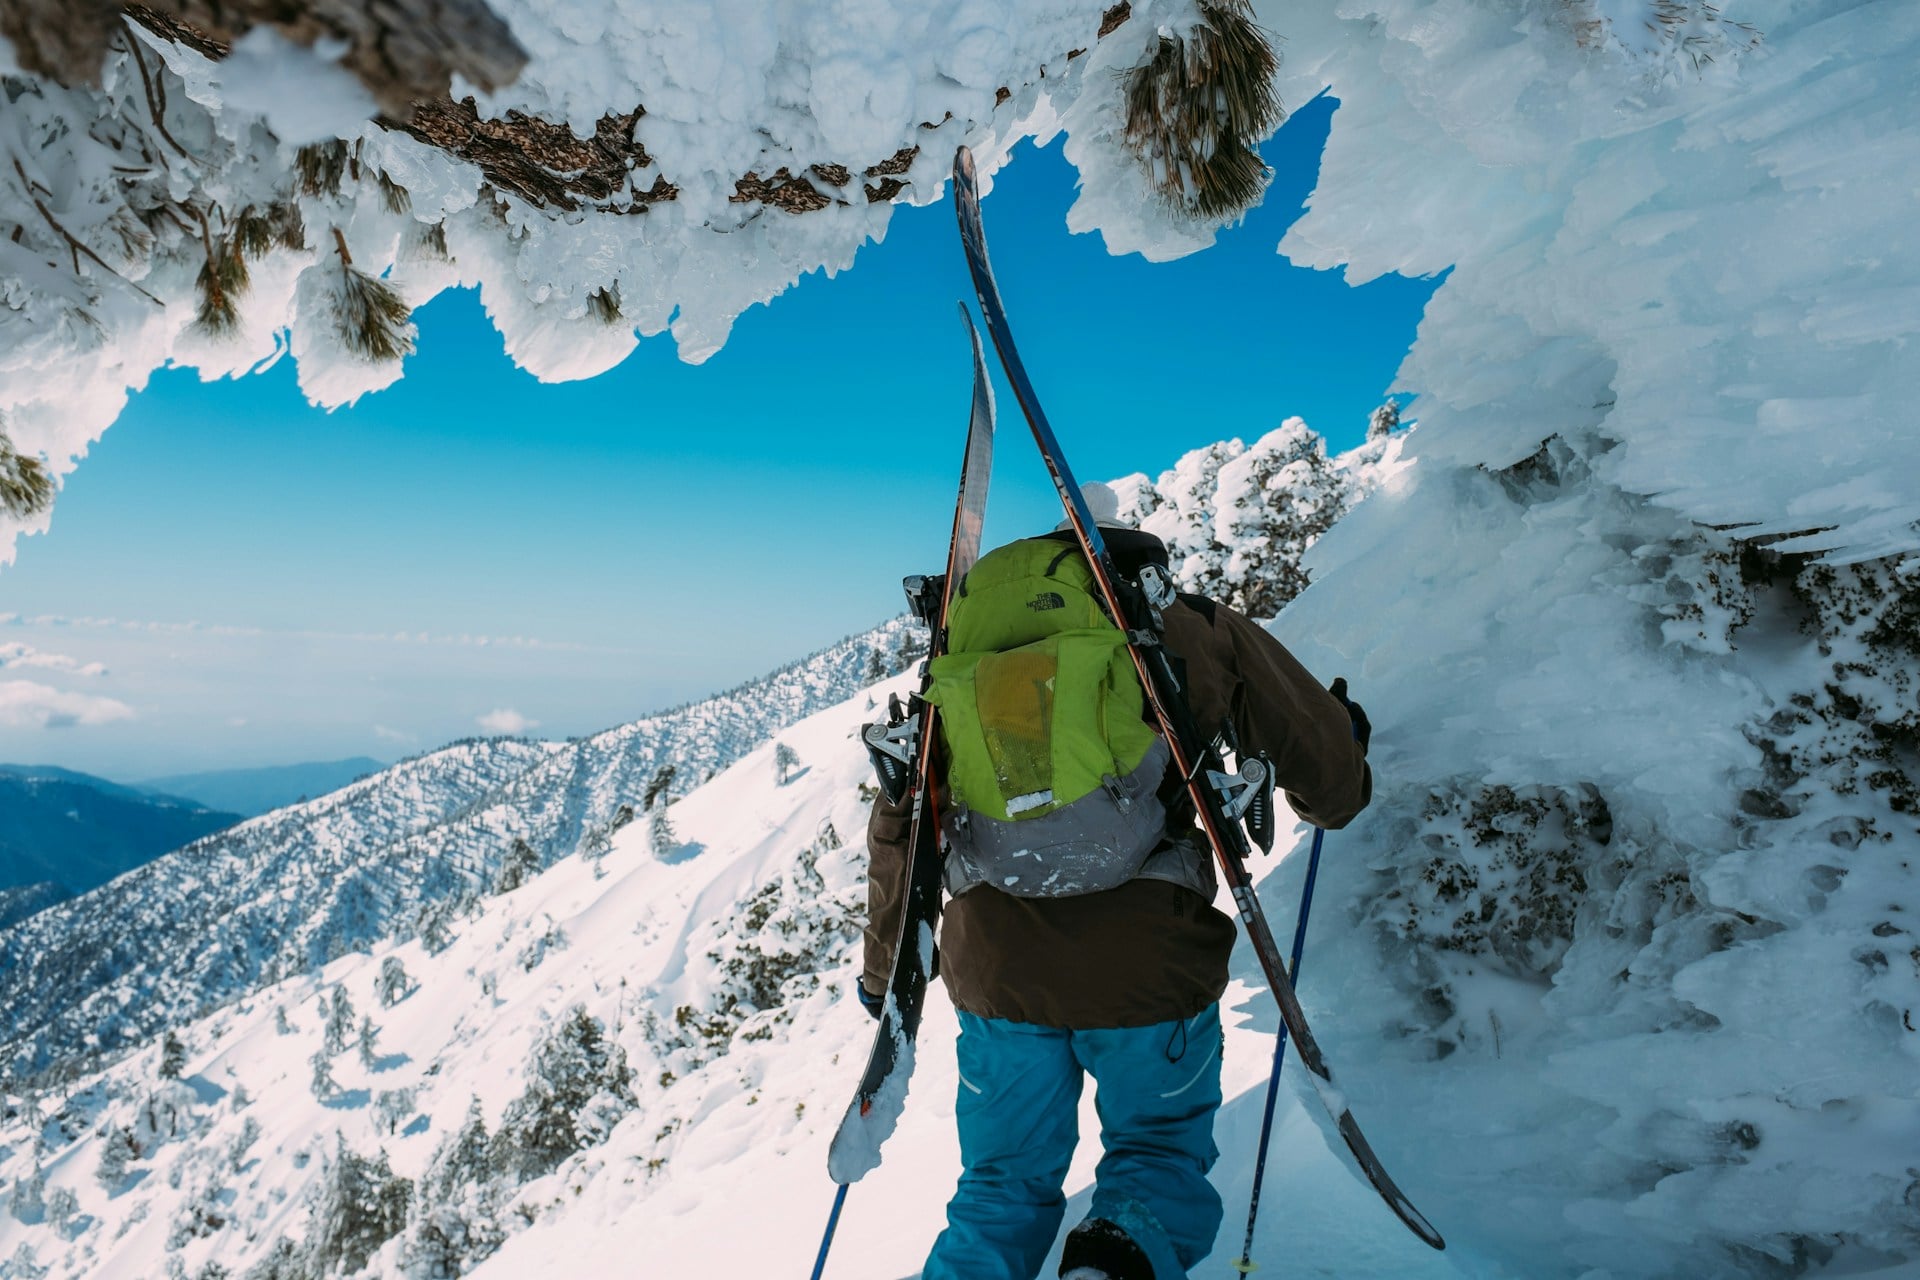
Skier Skins up a ridge in the Vail Backcountry with Apex Mountain School.
Complete these steps and you’ll be on your way to fresh tracks long after powder days. Whether it’s by educating you on avalanches or getting you comfortable with your gear we can prepare you with our AIARE courses and backcountry ski trips. The backcountry ski trips also teach you the skills and help to plan for your first backcountry outings. We can’t wait to assist you on your way to the backcountry!


